High-quality print starts with a properly prepared file. Whether you are printing business cards, catalogues, packaging or labels, preparing your print materials correctly is key to getting a flawless end product.
Below, we set out the most important rules and recommendations to help you avoid the most common mistakes and make the printing process easier.
Prepare your materials in professional software
For the best results, we recommend preparing your files in professional graphics software such as:
- Adobe Illustrator (for everything)
- Adobe InDesign (for multi-page files)
- Adobe Photoshop (for photographs)
- CorelDRAW
Files are best supplied in PDF format, as it reliably carries over all graphic elements, fonts and colours.
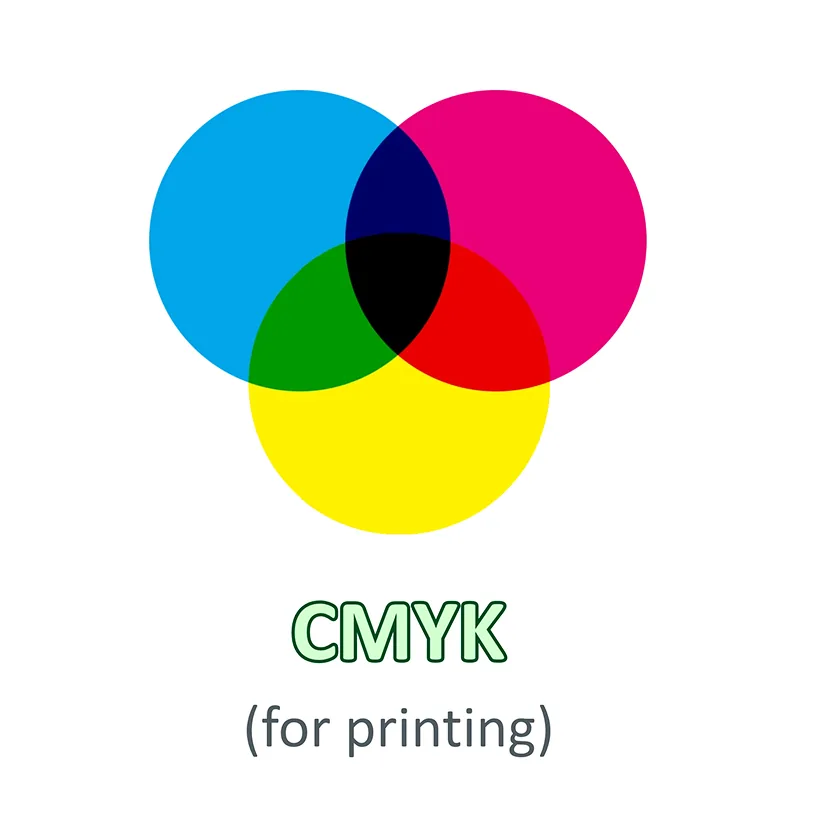
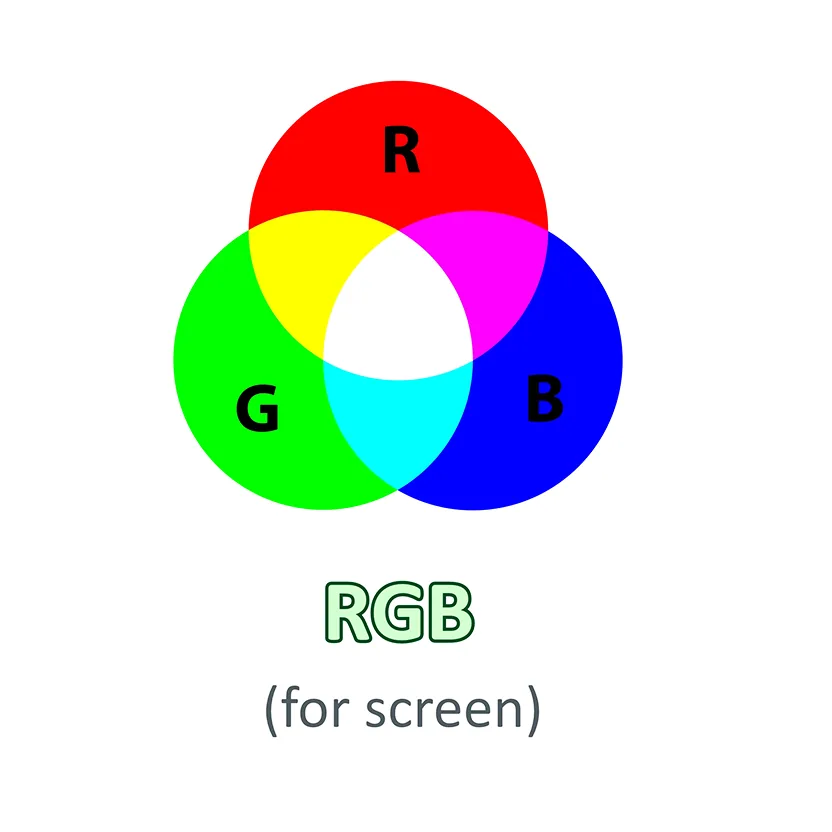
Use CMYK, not RGB
One of the most common mistakes is preparing the file in the RGB colour space.
Monitors display RGB colours, whereas professional printing is done in CMYK.
If the document is prepared in RGB, the colours may shift during conversion and the final print may look different from what you see on screen.
Add bleed
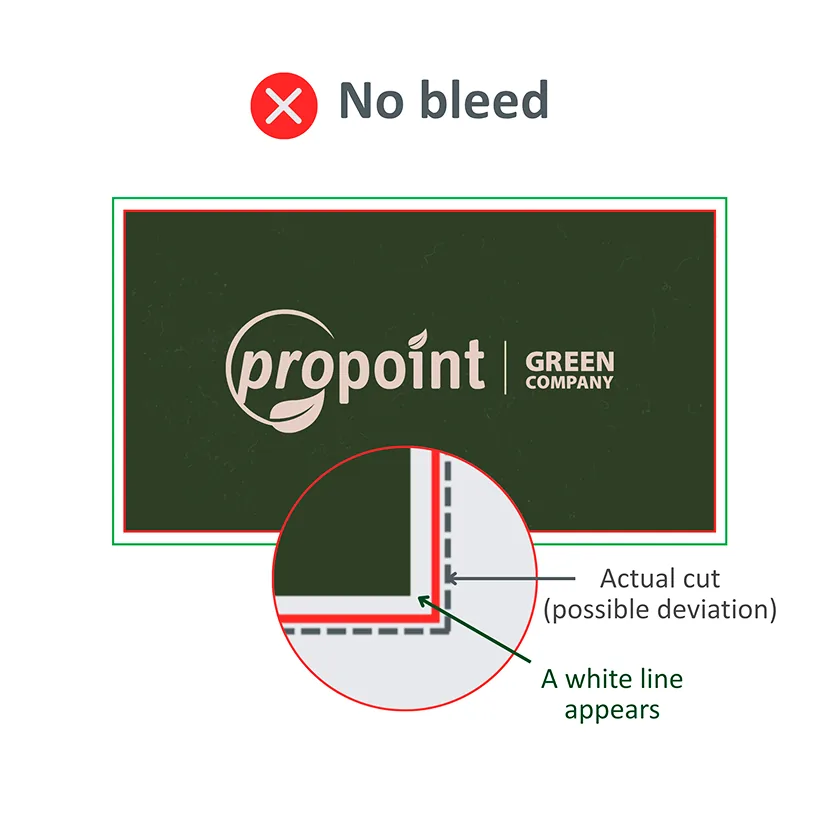
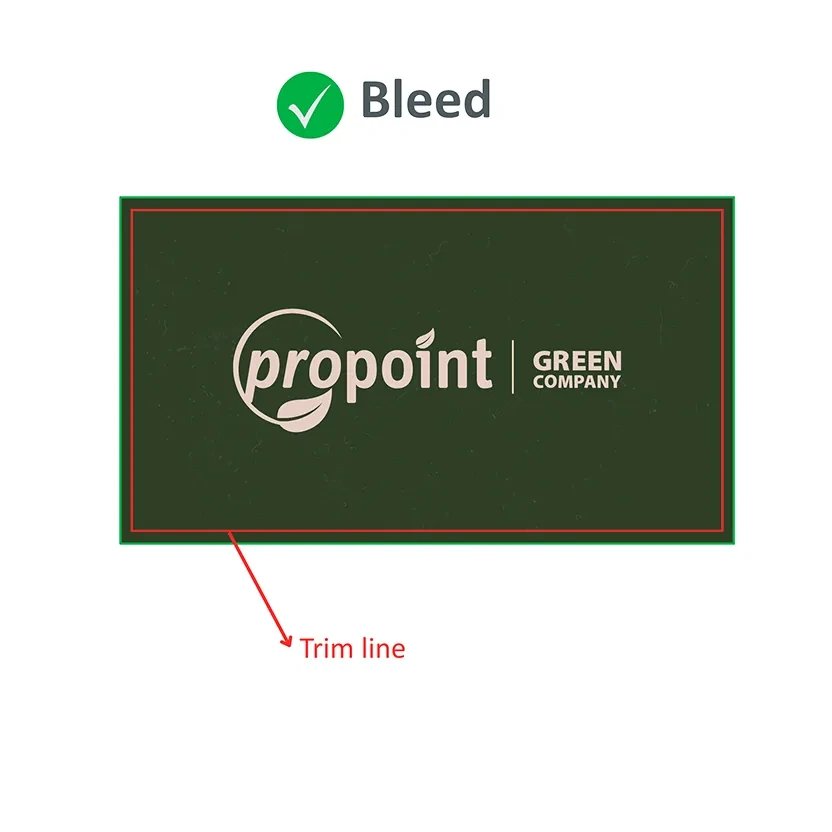
If the design runs right up to the edge of the product, you must add bleed.
The recommended bleed is 3 mm on each side.
This extra space allows precise trimming without unwanted white lines along the edges.
Use high-resolution images
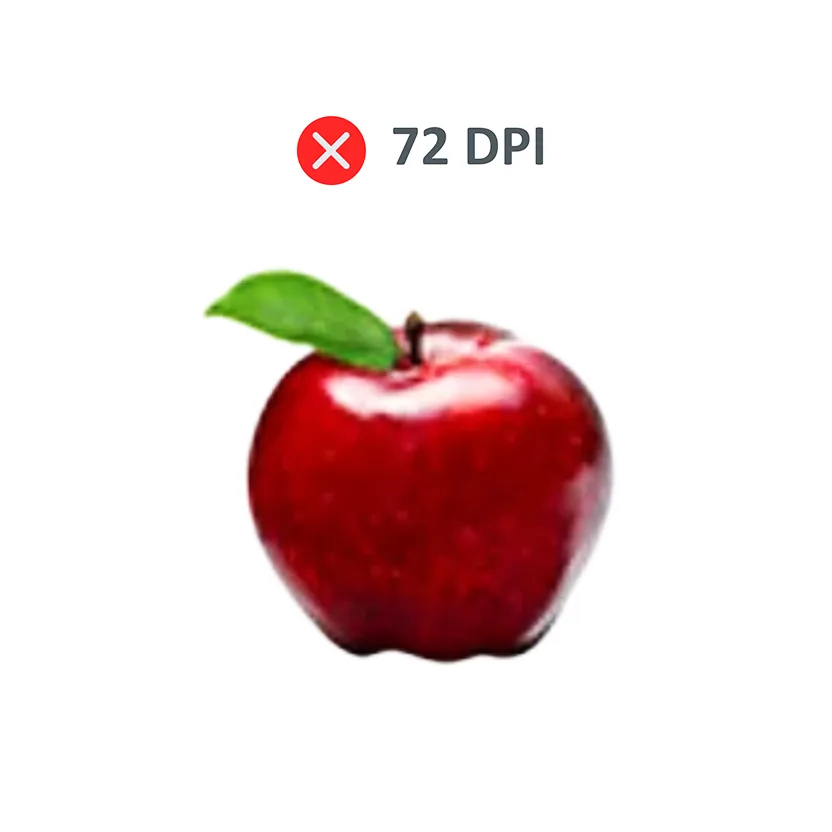
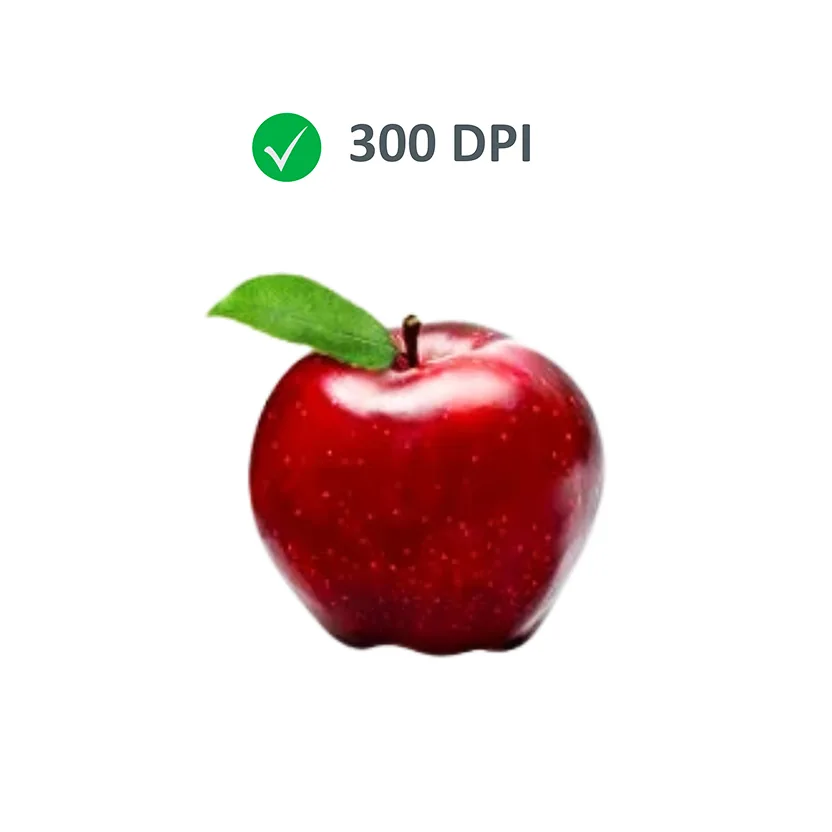
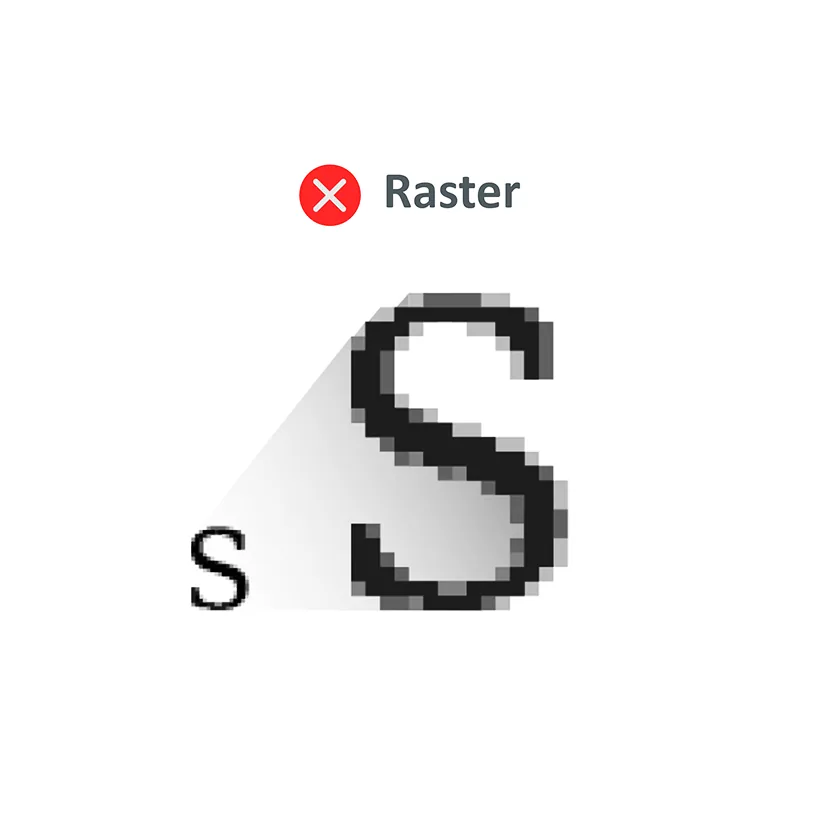
All photographs and raster elements should have a minimum resolution of 300 DPI.
Photos downloaded from the internet are usually 72 DPI and are not suitable for professional printing.
Use vector graphics where possible
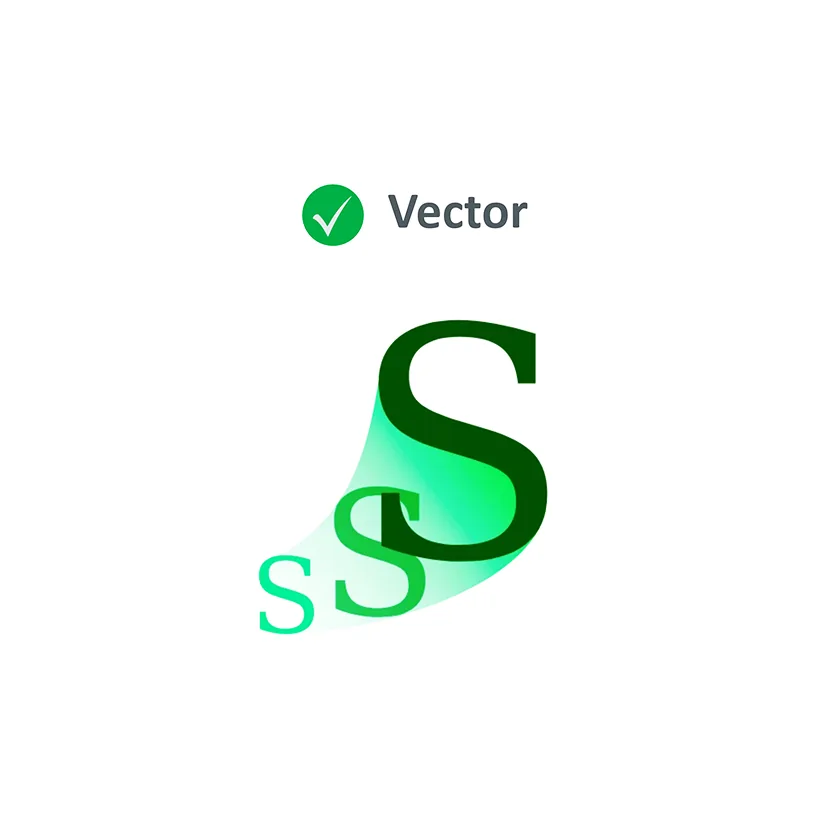
Logos, icons and illustrations are best supplied in vector format, as they can be enlarged without any loss of quality.
The most common vector formats are:
- AI
- EPS
- SVG
Send us your fonts or convert them to outlines
If a font has not been converted to outlines or supplied with the file, it may be replaced by a different font when the file is opened.
To avoid this:
- convert your fonts to outlines – in Illustrator: Object → Flatten Transparency → Convert All Text to Outlines
- or send us the fonts.
Preparing for special finishes
If your project includes:
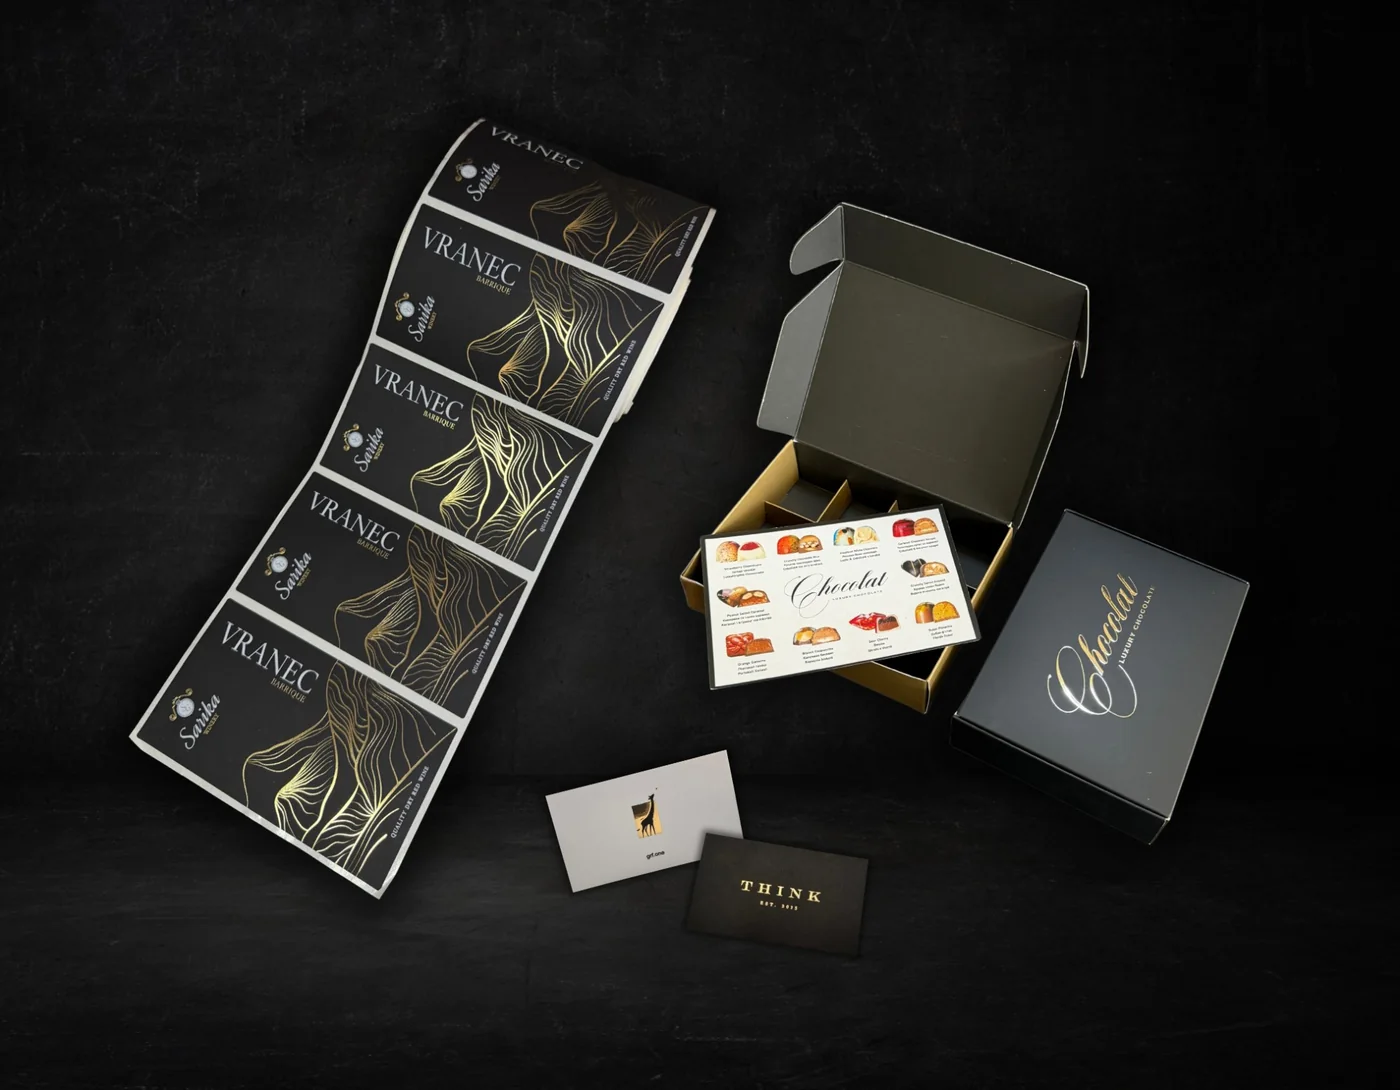
- spot UV varnish
- hot foil stamping
- 3D foil
- embossing or debossing
- die-cutting
the elements intended for special finishing should be clearly separated from the rest of the design, usually on separate layers or as specially defined spot colours, with “overprint” enabled.
This allows every finish to be produced precisely.
Checklist before sending
Before you send us your materials, check that:
- The document is in PDF format
- The colours are in CMYK
- Bleed is set to 3 mm
- Images have a resolution of at least 300 DPI
- Fonts are supplied or converted to outlines
- All links and images are embedded
- Any special finishes are marked on separate layers with “overprint”
Need help?
If you are not sure whether your materials have been prepared correctly, our team will review them and advise you before printing begins.
That way, you can be confident that the final product will look exactly as you imagined it.